About the Author: Mera naam MD Maqsood hai aur main pichhle 7+ saalon se professional video editing industry me active hoon. Video post-production aur visual storytelling ke practical aspects sikhane ke liye main apna YouTube channel m4editorofficial run karta hoon, jahan 13.6K+ subscribers ka community base hai, aur Instagram par m4_editor_official handle ke zariye 145K+ creators ke sath real-world editing workflows share karta hoon. Mera maqsad beginners ko bina kisi complex jargon ke genuine editing skills aur industry-level workflow insights provide karna hai taaki har creator high-quality content confident hokar produce kar sake.
VN Editor Se Viral Content Banane Ki Complete Strategy
Short-form content ecosystem me audience ka retention span har guzarne din ke sath kam ho raha hai. Instagram Reels, YouTube Shorts aur micro-video platforms par sirf ek accha video shoot kar lena kaafi nahi hota; video ka post-production aur pacing hi decide karta hai ki algorithm use push karega ya drop kar dega. Video content creation me mobile apps ne revolution laya hai, aur un sabhi tools me VN Video Editor (VlogNow) sabse powerful, clean aur professional timeline dene wala application ban chuka hai.
Lekin sawal yeh uthta hai: kya sirf clips ko jodkar background music laga dene se video viral ho jati hai? Jawab hai bilkul nahi. VN Editor Se Viral Content Banane Ki Complete Strategy samajhne ke liye aapko frame psychology, beat matching, visual retention hooks aur non-destructive colour workflow ko master karna hoga. Agar aap ek beginner hain aur mobile se cinema-grade retention achieve karna chahte hain, toh yeh complete guide aapke har editing barrier ko door karegi.
1. Golden 3-Second Visual Hook Masterclass
Short-form algorithm ka sabse pehla rule hota hai Viewer Drop-off Prevention. Agar aapne viewer ko pehle 3 seconds me engage nahi kiya, toh video ka swipe-away rate 70% se upar chala jayega, jisse reach freeze ho jaati hai.
- Pattern Interrupt Technique: VN timeline par pehle 2 seconds ke andar ek visual break add karein. Shuruat ek sudden dynamic zoom-in ya split-screen frame se karein.
- Micro-Cuts Strategy: Opening visual ko continuous single shot me na chhoden. Har 0.8 second par ek subtle punch cut lagayein jisse viewer ka eye focus constantly adjust hota rahe.
- Sound Design Layering: Voice ya visual ke aate hi ek crisp ‘Whoosh’, ‘Pop’ ya subtle low-frequency bass drop zaroor add karein.
- Jab aap editing start karein, timeline par pehle 90 frames par sabse zyada focus karein. Agar starting hook smooth nahi hoga, toh baki bachi 50 second ki video kitni bhi behtareen kyun na ho, audience use dekhegi hi nahi.
2. VN Editor Speed Ramping Aur Velocity Curves Ka Sahi Use
Viral edits me sabse striking visual tool hota hai Velocity Speed Curve. Linear fast-forward ya static slow-motion outdated ho chuke hain; viewers ko modern fluid acceleration pasand aati hai
- Custom Curve Selection: VN me pre-made curve presets (jaise Hero, Bullet) use karne ke bajay hamesha Custom Curve select karein.
- Peak and Valley Principle: Beat hit hone se theek pehle speed ko 3x to 5x tak boost karein, aur drop ke instant frame par use 0.3x smooth slow motion par drop karein.
- Optical Flow Smoothness: Agar aapki footage 60fps ya 120fps par shot nahi hai, toh extreme slow curves par footage stutter karti hai. Iske liye speed ramp karte waqt frame interpolation clean rakhein taaki frame skip na ho.
- Ek realistic approach yeh hai ki har movement ka ek natural flow hota hai. Body movement ya camera pan ke physical momentum ke sath hi curve ko match karein.
. Beat-Synced Editing Aur Audio Waveform Matching
Music sirf background filler nahi hota; sound reel ki pacing ka backbone hota hai. Visual cuts aur music notes ke beech perfect synchronisation audience ke dimaag me dopamine trigger karta hai
- Timeline Beat Markers: VN editor me audio track par tap karke Beats option open karein. Gaane ki primary kicks aur snare drums par markers drop karein.
- Cut Placement Calibration: Har clip ka transition theek beat marker ke purple flag par aana chahiye. 2 frame aage ya piche cut lagana visual mismatch create karta hai.
- J-Cut Aur L-Cut Application: Next scene ka sound current scene ke visual se 0.5 second pehle start hone dein (J-Cut). Yeh technique visual jump ko seamless aur natural feel karwati hai.
- Audio level ko adjust karte waqt dhyan rakhein ki background music ka peak level -14dB se -18dB ke aas-paas balance rahe agar background me voice-over hai, taaki dialogue crisp rahe.
. Text Overlays, Subtitles Aur Dynamic Typography
Mute scrolling mobile consumption ka reality check hai. Lagbhag 60% se zyada log reels aur shorts bina volume open kiye scroll karte hain. Agar aapke visuals text aur typography se backed nahi hain, toh message deliver nahi hoga
- Safe Margins Ka Dhyan: VN me text add karte waqt margin guide ka use karein. Bottom right icons (Share, Comment) aur upper username area ke safe margins chhodkar text hamesha centre grid me rakhein.
- Keyword Highlighting: Puri sentence ek sath display karne ke bajay sirf 2 se 3 words ka kinetic group banayein. Main emotional keywords ko bright visual colour (jaise Yellow ya Cyan) me highlight karein.
- Text Animation Curves: Plain text fade-in boring lagta hai. VN me Slide Up ya Pop animation ke sath subtle scale effect dein taaki text padhte waqt screen live lage.
5. Mobile Cinematic Colour Grading Baseline
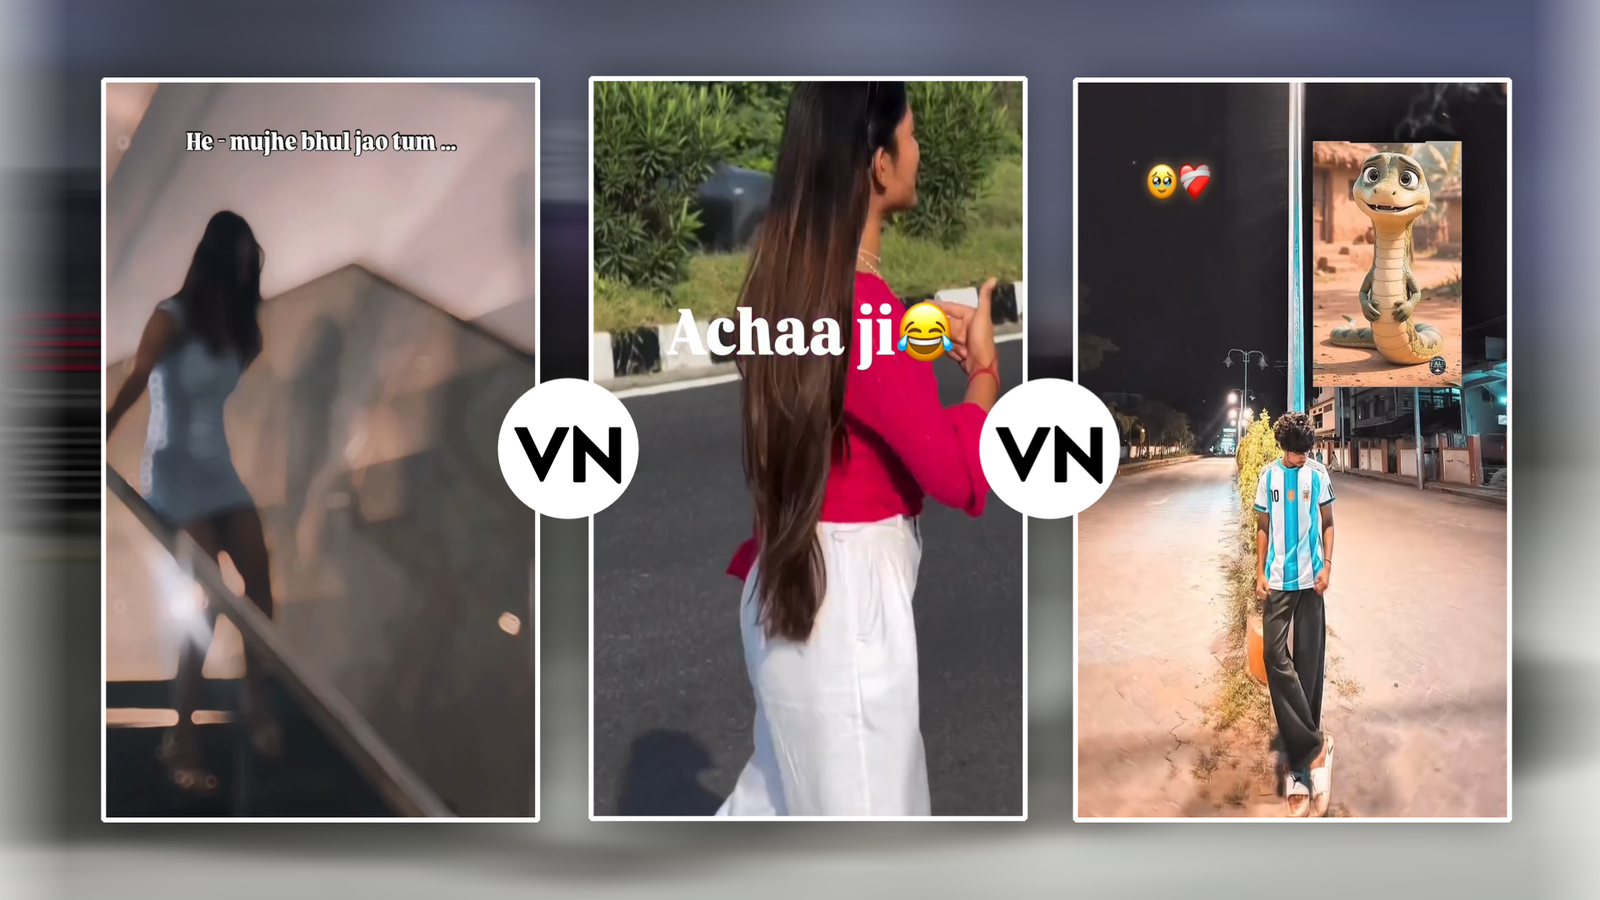
SCREENSHOT👇

Mobile cameras me aksar dynamic range limited hoti hai, jisse colors ya toh bohot flat aate hain ya fir oversaturated lagte hain. VN ke native color engine se professional grading create karne ke standard parameters niche follow karein
Setting Parameter
Recommended Adjustment
Visual Outcome
Exposure
-6% se -12%
Harsh daylight highlights ko balance karke rich tone deta hai
Contrast
+10% se +16%
Shadows me depth aur midtone separation create karta hai
Highlights
-15% se -25%
Sky aur light sources me clipped details wapas laata hai
Shadows
+5% se +10%
Dark parts me black crush hone se details safe rakhta hai
Saturation
-5% se -8%
Mobile sensor ke unnatural cartoonish colors ko tone-down karta hai
Vibrance
+14% se +18%
Skin tone ko orange kiye bina secondary colors pop karta hai
Sharpening
+8% se +12%
Social media platform compression ke baad visual clar
ity maintain karta hai
Kisi bhi pre-built filter ko direct 100% opacity par apply mat karein. Filter ki intensity hamesha 40% se 60% ke darmiyan rakhein aur upar diye gaye manual parameters ke zariye refine karein.
6. Visual Effects Aur Seamless Masking Transitions
SCREENSHOT👇

Hard cuts har topic par suit nahi karte, aur generic sliding transitions cheap lagte hain. Professional editing me invisible visual flow banaya jata hai.
- Linear Mask Wipe: Ek moving subject (jaise koi person ya passing pole) ke piche Mask Tool ka use karke next clip ko reveal karein.
- Directional Blur Match: Agar scene A me camera right side whip ho raha hai, toh scene B ki opening me horizontal directional blur apply karein. Isse do completely alag clips single continuous shot jaisi dikhti hain.
- Subtle Zoom Punch: Subject jab koi important statement de raha ho, toh Keyframe Tool ka use karke subtle slow zoom-in scale karein (100% to 108%). Yeh frame viewer ka attention grip kar leta hai.
Bonus Tip: Layered Adjustment Clips For Uniform Look
Ek pro editing trick jo workflow ko 3 guna fast bana deti hai wo hai Adjustment Layers ka proper setup:
Ek-ek clip ko individually color grade karne ke bajay, VN me top layer par ek blank clip ya uniform color adjustment create karein aur use poori timeline par extend kar dein. Isse aapki alag-alag phone ya conditions me shoot ki gayi clips me consistent color palette aur contrast bana rehta hai, jisse viewer ko channel ka visual identity premium aur uniform dikhta hai.
7. Algorithm-Friendly Ultra-Clean Export Configuration

SCREENSHOT👇

Content high quality banne ke baad platform compression se protect karna sabse decisive step hai. Instagram aur YouTube vertical servers par compression algorithm standard specifications par sabse smoothly render hota hai:
Resolution Selection: Hamesha 1080p (1080×1920) select karein. Native 4K vertical upload mobile platforms par double-compression pipeline me chala jata hai, jisse video stutter aur artifacting ka shikar hoti hai.
Frame Rate (FPS): Content ke pacing ke hisab se standard 60 FPS select karein agar velocity speed ramps use kiye gaye hain. Talking head educational videos ke liye 30 FPS natural motion blur provide karta hai.
Target Bitrate: Bitrate ko Auto par chhodne ke bajay manual slider se 16 Mbps se 20 Mbps par set karein. Low bitrate visual blocks create karega aur high bitrate compression artifacts generate karega.
Conclusion
VN Editor Se Viral Content Banane Ki Complete Strategy kisi magic formula par nahi, balki precise pacing, viewer psychology aur clean mobile workflow par depend karti hai. Apne clips me beat matching, kinetic typography aur calibrated visual speed curves ka regular prayog karein. Tool sirf ek medium hai; jab aap structured consistency aur deep timeline control ke sath visual storytelling deliver karenge, toh organic engagement aur reach effortlessly grow hogi
.